Introduction
The design stage is not to be confused with the implementation stage. It favors reflection, rather than action. When the time comes to talk about design, several questions arise.
- The choice of the CMS (Content Management System)
- The domain name and the host
- The development tools
- The design itself
WordPress
The choice quickly fell on WordPress, because it is the most used CMS today to create a personal website. Even if it has been criticized for its lack of flexibility and creativity in another field than blogging, it is now fully capable of managing and displaying all kinds of content, including online sales platforms.
The domain name and the host
The importance of the domain name can be crucial to a company who associates its website with its business. As a general rule, the longer the domain name, the less people remember it. It is therefore advisable to choose a short one. For my part, I am the happy owner of the domain fuyens.ch. It’s the name of the little village where I live and nobody, until now, has asked me to release it.
The choice of provider is up to each one, but the choice has turned for Infomaniak. Without wanting to advertise them further, here are some of their advantages.
- Infomaniak is based in Geneva, so it is local.
- It has an administration console.
- You can secure your website in HTTPS
- It is possible to create several subdomains (up to 20).
- WordPress can be installed with a few clicks of the mouse and is completely free.
- A backup is made every night.
The development tools
When you want to create a website with WordPress, you can of course only use it with a theme appropriate to your website. But by consulting other websites and dozens of videos on Youtube, you begin to understand that there are two tools essential to WordPress. The first is the page builder, the second is the content editor.
The content editor is now integrated in WordPress (since version 4.8). It has the nice name of Gutenberg. It has replaced another editor, called classic, which was TinyMCE. If things were relatively clear before Gutenberg, we can now confuse content editor and page builder. One is used to create content, as the name suggests, the other is used to shape your website. Even if a certain number of sites are entirely built with Gutenberg, it is not the chosen solution.
Page builders, unlike Gutenberg, are not integrated in WordPress. You have to install a theme and/or a plugin. As an example, the Divi theme has been tested without standing out. The choice fell on Elementor, a page builder that integrates with the WordPress environment and allows you to give free rein to your imagination almost without limit. It is by far the most installed plugin today (over 5 million in 2019).

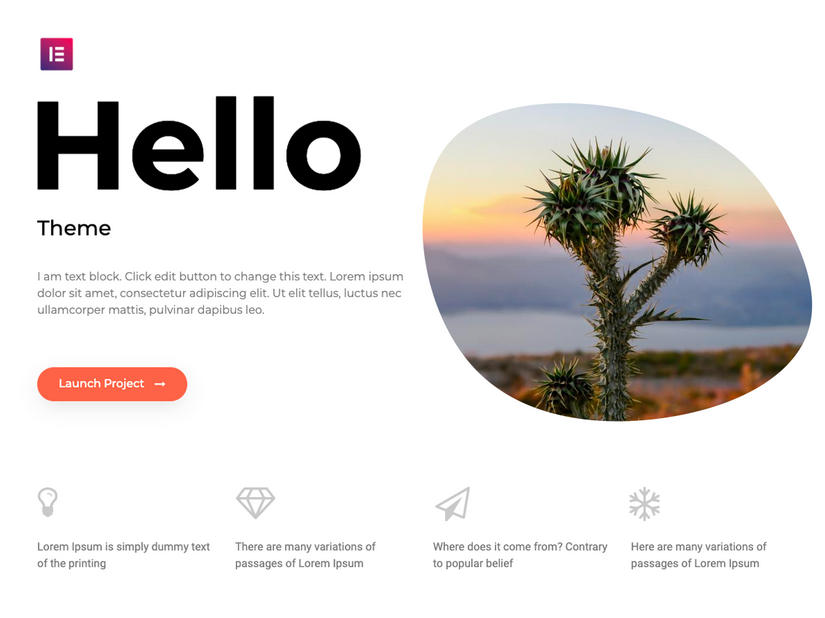
Elementor does not skip the WordPress theme. You will have to choose one and install it. The basic configuration of WordPress and Elementor will be discussed later. Just know that Elementor has created its own theme and it is highly recommended to use it to work with him.
The design
Once the domain name, the provider, the installation of WordPress and the Elementor plugin are all done, we get to the heart of the matter, the creation of the homepage. Although a certain amount of time has been allocated to understanding the finer points of Elementor, it would be a waste of time to try out all the Elementor widgets (in the Pro version) and try to build a page design from a blank page. You don’t need to be an experienced graphic designer, just collect ideas from other websites.
Wireframe
Once you’ve spent the first few hours playing with Elementor, it’s highly recommended that you never start building a website with it, but rather use a design tool to create a wireframe.
Wireframe is a term used in modeling. And what better than a model to represent a web page. I designed mine with the Adobe XD tool. There are others, like Figma or Sketch.
Adobe XD
Some advantages of AdobeXD, although the other products are certainly similar.
- Adobe XD is free in its basic version, which is more than enough for my needs.
- Adobe XD allows you to zoom in on your page to get a better view.
- Adobe XD allows you to see several work plans at the same time. So you can see the desktop, tablet and mobile version on the same screen.
- Adobe XD allows you to create multiple work plans. Also, you can create multiple versions of your page to compare them. This is very important because it allows you to go back to a certain version.
- You can compare an old version by importing it into Adobe XD and creating a new version right next to it. This allows you to compare the before and after.
- Beyond the wireframe, you can create color pages.
- It is much easier and faster to make decisions by looking at a design in Adobe XD than with Elementor.
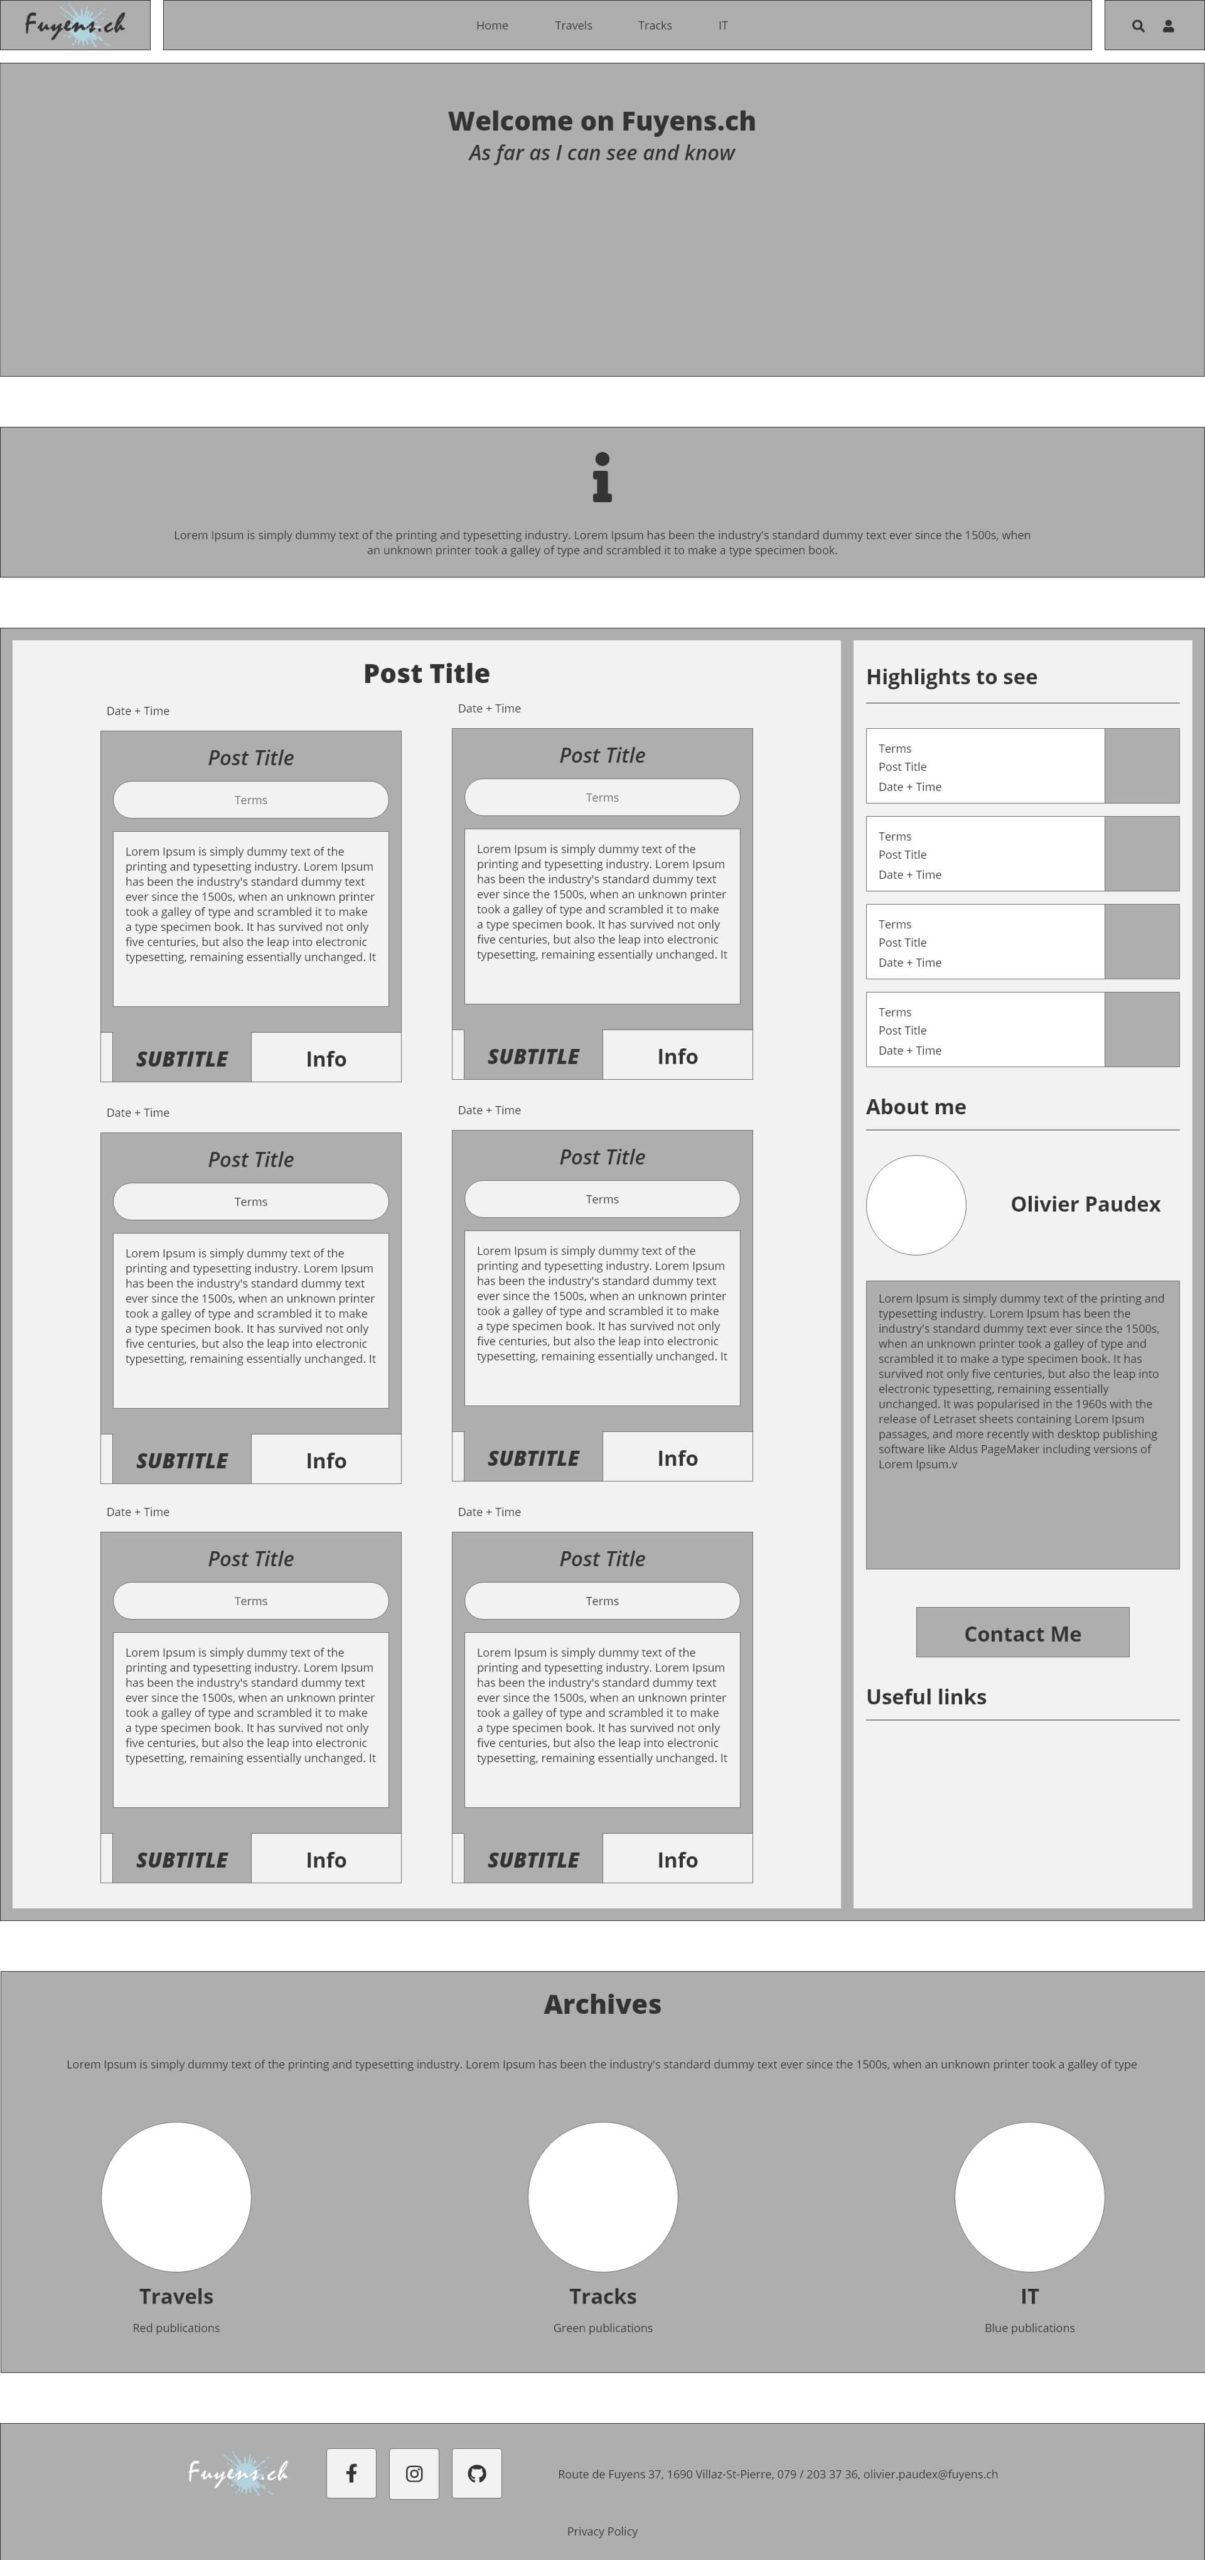
At first, the page was drawn by hand to give a basic idea. Then quickly a wireframe was created. The tool is very easy to use and there are many tutorials on Youtube. Below, the first page. This took about 3 hours to create. Imagine the time needed to create this with Elementor.
A note about the Awesome font
The icons on the top right are part of the Awesome Font family. The icons are integrated in Elementor, but not in AdobeXD. It is however possible to add them. Download the OTF versions from the Awesome Font website, in Regular, Solid and Brands versions. Install them on your computer. Now you can use the icons in AdobeXD.
Be inspired but don’t copy
One of the strengths of Wireframe is that it lets your imagination run wild, rather than the possibilities offered by Elementor. For example, the design of the publications (the 6 rectangles in the middle), was drawn without knowing if it was really possible to create them with Elementor. This will be discussed later, but you should know that yes, everything is possible with Elementor and some additional plugins.
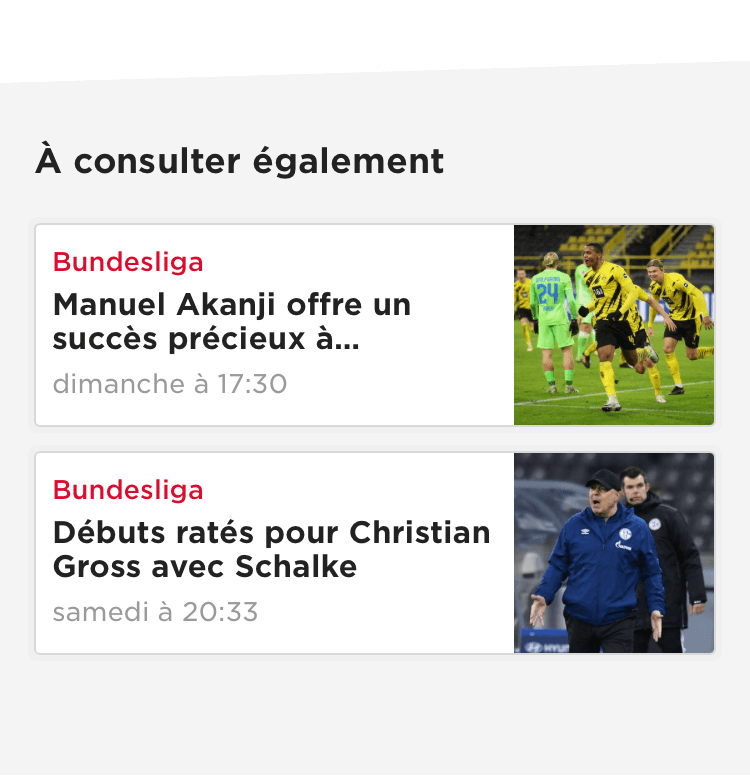
Another example is the section “Also to be consulted”. The inspiration came from the mobile version of the RTS (Radio Télévision Suisse) app.
Below, the wireframe of the homepage.
The color palette
A relatively important step in the creation of a website is the color palette. Every graphic designer in the world will tell you that the choice of colors makes or breaks a website. If you have no idea what colors to choose for your content, start with an inspirational image that you like the look of and automatically generate a color palette with https://www.canva.com/color-palette/.
The fonts
Another important step is the choice of fonts. Elementor comes with a large number of fonts and it is almost useless to download additional fonts. But if you can’t find what you’re looking for, you can find it on Google.
The menus
Every website worth its name has one or more menus. There is no magic formula regarding the menu, but it is time to think about it. Take inspiration from other websites or simply create a menu entry per section and/or per page.
As with the design of the wireframe, thinking about menus can quickly become very time consuming. Think of your menu through the eyes of a user. The more intuitive the site is, the more visitors will stay on your pages. Nothing is more unpleasant than getting lost in a menu that contains a multitude of links without ending up with what you’re looking for.
The creation of menus is done directly in WordPress.
The logo and the icon of the site
Identity of the site or the company, the logo is the key to the entrance door. The logo of this site was created with Photoshop, but there are plenty of online tools to materialize it. You don’t need to be a graphic designer or a marketing specialist. The design of this simple logo contains a line of text and a background image.
Another element to prepare is the site icon. This is the little icon that appears in the tab of your browser. Here again, there is no need to be complicated. The icon of this site has been made with a single letter and the blue background has been worked with a lighting effect.


Free images library
If you lack inspiration or are looking for images, here are two innovative websites :
That’s it for this chapter on design. Once again, I must remind you that it is very important to prepare your environment, to choose your colors and fonts, to think about the content of the menu and to draw your ideas on a sheet of paper or a tool like AdobeXD before launching into the creation of the site. You will gain in efficiency and time. The next chapter will talk about the page map, a very important step, which also allows you to structure your ideas well.





2 Responses
How important is the alignment of visual design and navigation in improving user experience?
Regard IT Telkom
This blog is like a safe haven for me, where I can escape the chaos of the world and indulge in positivity and inspiration