Creating Azure infrastructure
Once the container is created, we can start dealing with the Azure infrastructure that will host our application.
This publication is composed of several parts. This being the 4th part.
The naming of services
Microsoft recommends naming services in a structured manner.
- An acronym or abbreviation for the service.
- The type of resource or information specifying its function.
- The name of the application if the one is dedicated to it.
- The region of the service.
- The instance of the service.
Example:
| Sigle | Resource Type | Application | Region | Instance | Description |
|---|---|---|---|---|---|
| pe | sqlsrv | imagesgallery | westeu | 001 | The SQL server endpoint for the Images Gallery application |
| st | imagesgallery | westeu | 001 | Storage for the Images Gallery application | |
| snet | backend | imagesgallery | westeu | 001 | The application’s private subnet |
Azure Container Registry
The first task is going to be creating an “ACR” or “Azure Container Registry”.
- Create a resource group for the network elements.
- Create an “ACR” in Azure of type basic.
- Copy its name to the clipboard from the “Overview” tab.
- Go back to VSCode and enter the command below.
az loginThis will open a login window to connect to your Azure account.
- Close the window
- Enter the command below
az acr login --name [ACR name]This will connect you with the ACR.
- Create a tag of your docker image. A tag is a version of the image, here 1.0
docker tag [docker image name] [ACR name].azurecr.io/images-gallery:1.0- Push image into Azure
docker push [ACR name].azurecr.io/images-gallery:1.0- Click on “Repositories” in the ACR and verify that the container is present.
- Enable the “Admin” option.
App services
Microsoft Azure offers the ability to create applications without worrying about its maintenance. The service can be linked to a GitHub account or a container. One can also program a “CI/CD” to create a continuous development environment. The service also has the ability to adapt to demand (auto-scaling).
- Create a resource group for the application.
- Create an “App service plans” of type B1. The free version does not allow you to create SSL certificates.
- Create an application
- Enter a name for the application. This one doesn’t really matter. It is the SSL certificate and DNS that will give the real name of the application to be used in the URL.
- Select “Docker Container”.
- Select “Linux”.
- Select the rate plan created above.
- Select the container from the ACR.
Creating the app
- Leave the “Enable Network injection” option set to Off”. Application security will be addressed later.
- Leave the other options.
Here we go, the app is created and should already respond to the URL “https://[app name].azurewebsites.net/”. It may take a good minute for the app to start up for the first time, so be patient!
At this point, the app should return an error of type “Failed to connect”. This is normal. We need to take care of creating the database and storage.
The SQL server
Microsoft Azure offers its own database engine called “Azure SQL Server”. It’s a lightweight version of “Microsoft SQL Server”. It is a “PaaS”, namely a “Platform as a Service”. In the same way as “The App Services”, the advantage of “PaaS” comes that it is administered by Microsoft. We do not take care of the update, nor the maintenance of the server. It is quite possible to make the server redundant through “replicas” and elastic mode.
Even if we use a service, we’re going to have to create two elements, the server and the database.
- Create a resource group for the server and database.
- Name it “sqlsrv-imagesgallery-westeu-001”.
- Enter a location.
- Enter the login “azadmin” for the admin.
- Enter a password and confirm it. Don’t forget to write it down.
- Create the server.
Creating the database server
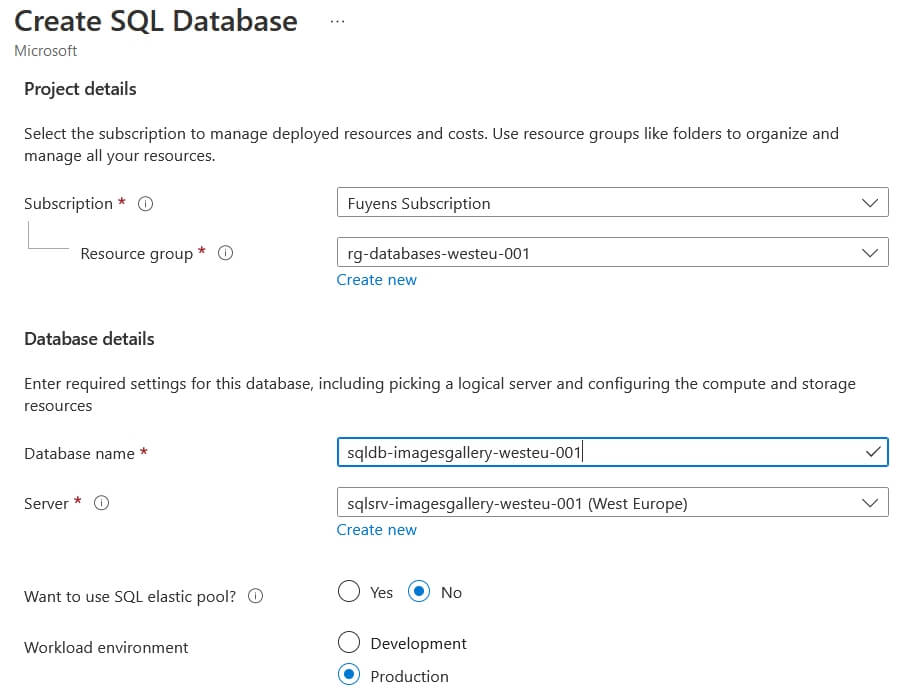
The database
Step two, creating the database. We will choose the most basic options
- Select the same resource pool as the SQL server.
- Name it “sqldb-imagesgallery-westeu-001”.
- Select “No” for the “elastic pool” option.
- Select “Production”.
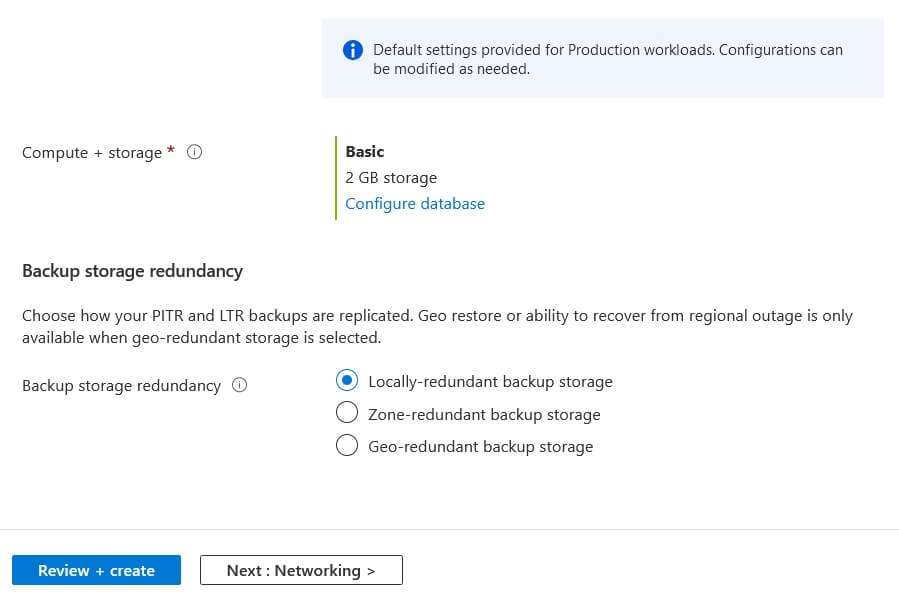
- Select the cheapest server, i.e. the “Basic” option.
- Select “LRS” for redundancy.


Creating the database
Connecting to the database
We’ll have to set up the server so we can access it.
- Start by clicking on the “Networking” tab and make sure the “Selected networks” option is enabled.
- Add your public IP address in the section about the firewall.
- Check the option the exception “Allow Azure services and resources to access this server”.
- Download Azure Data Studio and install it on your PC.
- Click on the “Overview” tab of the SQL Server.
- Find its name by clicking on the note.
- Enter the connection information into Azure Data Studio and connect.
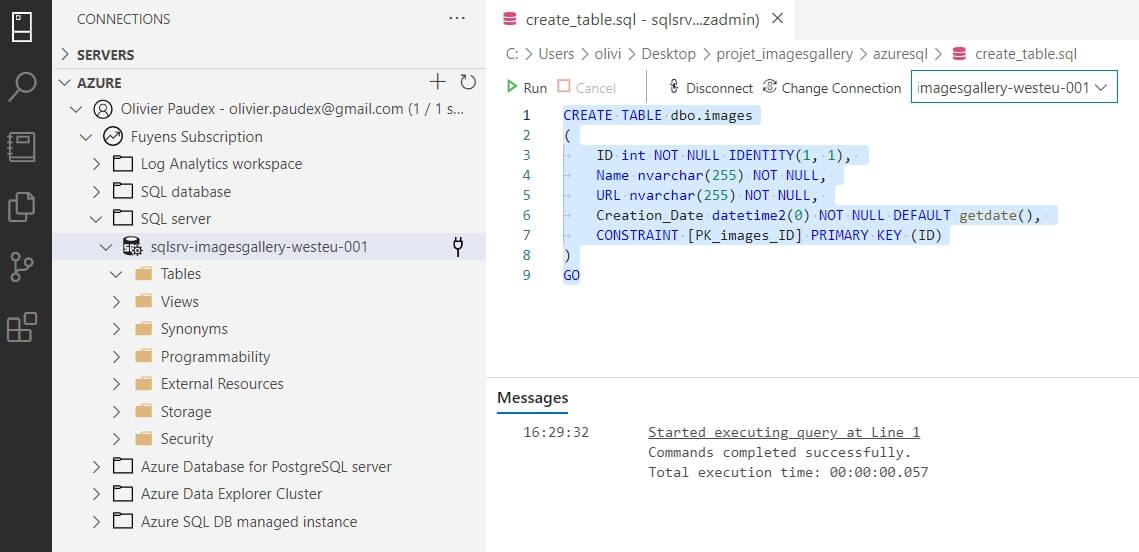
- Once the connection is active, we can see the server name and the folders attached to it.
Creating the database
- Copy and paste the small script below.
CREATE TABLE dbo.images
(
   ID int NOT NULL IDENTITY(1, 1),
   Name nvarchar(255) NOT NULL,
    URL nvarchar(255) NOT NULL,
   Creation_Date datetime2(0) NOT NULL DEFAULT getdate(),
   CONSTRAINT [PK_images_ID] PRIMARY KEY (ID)
)
GO- Save it to a file “azure.sql”.
- Return to Azure Data Studio and open the file.
- Accept the security caveats.
- Click “Run”.

Storage
One of the first functions of the cloud is data storage. Again, storage in Azure is a service. No need to install a file server.
- Create a resource group for the storage.
- Create a storage account.
- Enter a name for the storage. The name must be UNIQUE to the world, with no capital letters and symbols.
- Select the “Standard” option.
- Select the “LRS (Local Redundancy Storage)” option.
- Accept all other options.
- Create the storage account.
Storage account creation
The vault (keyvault)
The next service is the vault. This is the one that will hold the certificate and login passwords for the database and storage.
- Create a “Key Vault”.
- Select the network resource group.
- Name it “key-westeu-001”.
- Create the keyvault
Configuring the keyvault
To access the keyvault, the various services must be registered in Azure AD.
- Return to the application (App Services).
- Click on the “Identity” tab.
- Create a “managed identity” of type “system assigned” for the application.
- Enable the service by dragging the button to “On”.
- Copy the object ID.
- Go back to the keyvault.
- Click on the “Access Policies” tab.
- Click on “Add Access policy”.
- Select “Get” for the “Secret permissions”.
- Select “Select Principal”.
- Paste the application ID.
- Save.
Adding an access font for the application
The Secrets
We call “secrets”, a string of characters less than 10kb in length used as a password or other confidential items.
- Go back to the storage account.
- Click on the “Access keys” tab.
- View the keys by clicking on “Show keys” at the very top of the screen.
- Copy key number 1.
- Return to Keyvault.
- Create a secret for the storage account password.
- Name it “key-imagesgallery-storage”.
- Paste in key number 1.
- Start over for the database.
- Name it this time “key-imagesgallery-sqldb”.
- Paste in the SQL server password. If you forgot to write it down, you have the option of doing a password reset.
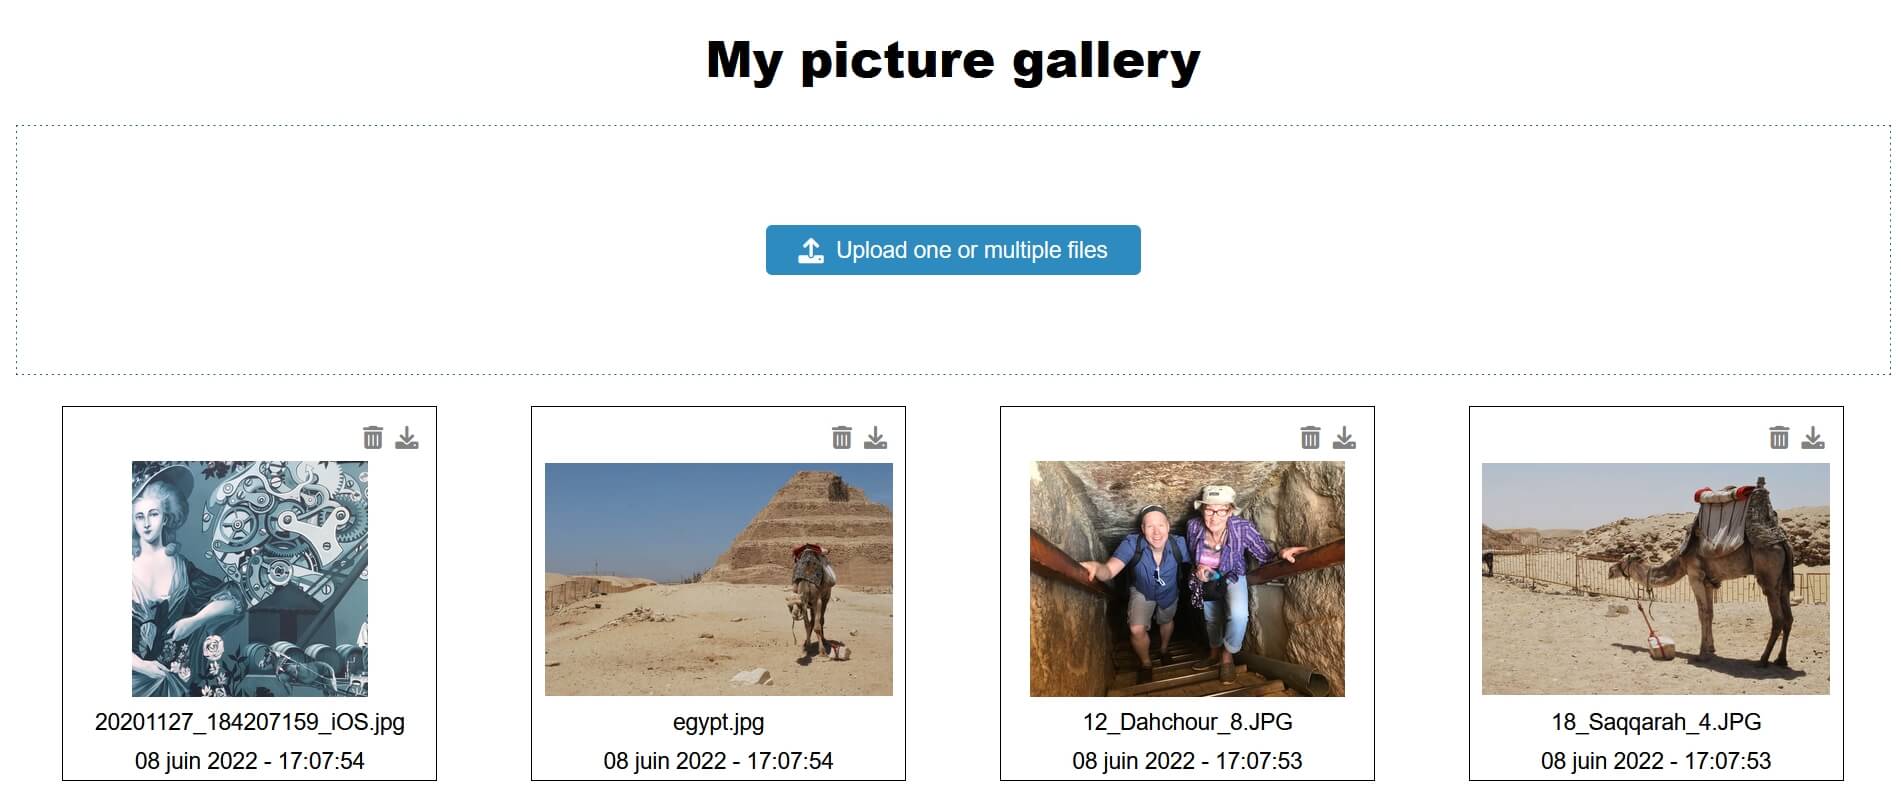
At this point, the application should work with the URL: “https://[app name].azurewebsites.net/”.
- Try uploading images.
You should see the result of the upload. It shows the number of images uploaded, the total number of images as well as any errors that occurred.
- Click on the “Go Back” link and you will see the thumbnails of the images displayed.
- Then it is possible to download or delete the thumbnails by clicking on the trash can and/or download icon.

Content verification
The contents of the database can be viewed with Azure Data Studio.
- Connect to the database and run the SQL query “Select * from images”.
- Azure Data Studio does display the images contained in the application.
Also, it is possible to check the content of the storage.
- Download Azure Storage Explorer and install it on your PC.
- Log in.
The application will automatically create a “blob container” called images. This one contains our images.
Here we go, the application works and that’s already not bad. But there is still room for improvement.
Conclusion
This chapter has covered the registry in which the container was dropped, as well as the various services used for this application such as storage, database, and vault.
Finally, it is also about two of the indispensable tools when it comes to using storage and database services.
- Azure Data Studio
- Azure Storage Explorer
The next chapter will focus on the security of the application and on the Azure cloud in general.


