Introduction
Creating a homepage is not that simple. The design should always contain as many links as possible to other pages. One thing is certain, the home page must be the most attractive part of your website. It should be eye-catching and contain as many links to posts or important sections as possible, without overloading it. However, the home page should be kept simple, to encourage visitors to stay. This page gives some recommendations collected here and there and explains the creation of the “hero”, the first visual banner that visitors will see.
Default section
A good idea is to create a default section with Elementor and keep it as a template. You have to think about making it responsive, i.e. compatible with all screen sizes.

Hero
Every homepage must have a hero. A hero is a kind of banner, with or without pictures, in which you can put links to other important pages. Some sites make the whole page their hero.
At the beginning of the site design, the hero was only the blue gradient section found on all pages. The default section above.
As the pages became more sophisticated, the desire to create a special hero for the homepage was born. The hero had to remain simple and in line with the original design.
First step
- Removal of the man’s image.
- Removal of the button.
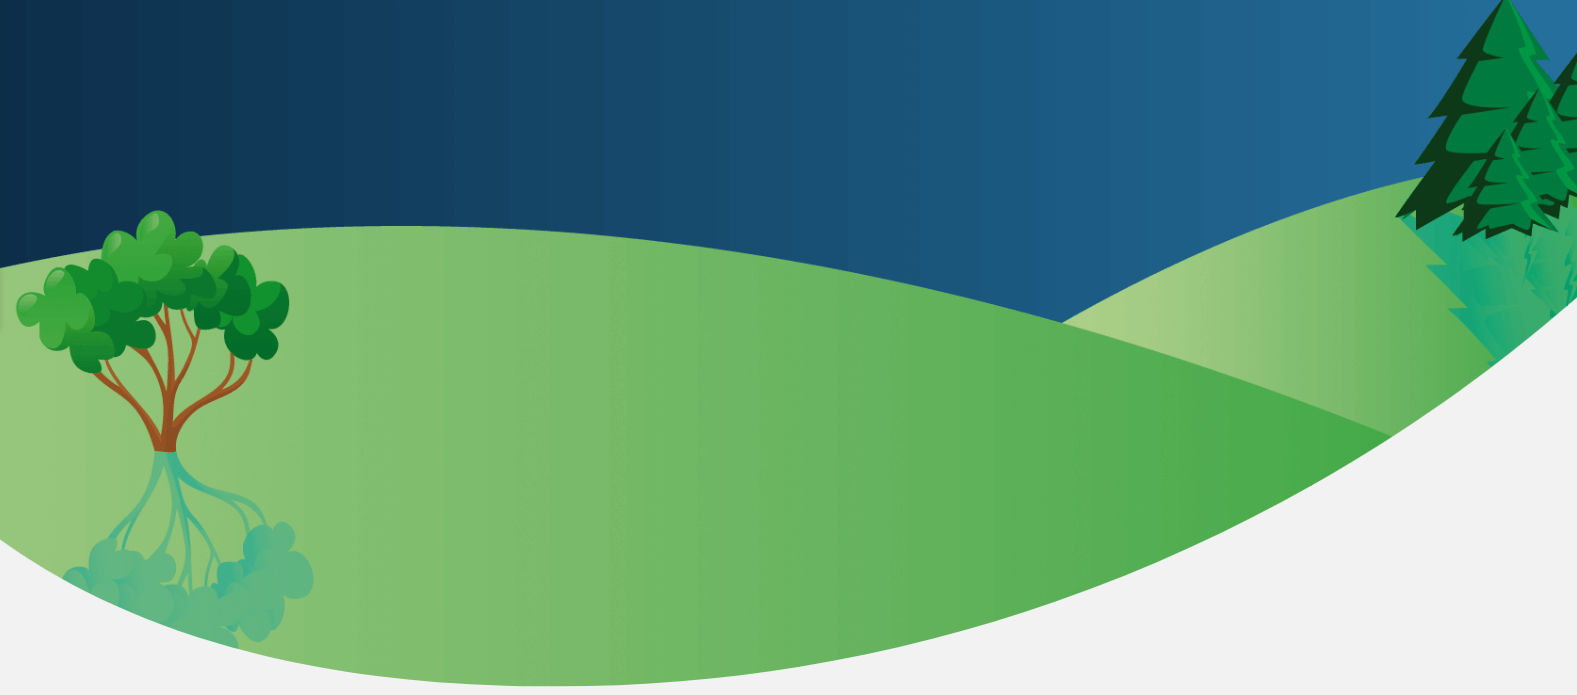
- Adding a landscape image superposed on the model.
The dimensions of the landscape image are 1700×750. It is a PNG to handle the transparency with the blue sky of the base model.
Second step
- Add title and slogan.
Note that the title and slogan are among the many dynamic fields that can be used with Elementor. The title being the domain name of the site, it is also possible to add a text preceding it, like here, the words “Welcome to “.

Third step
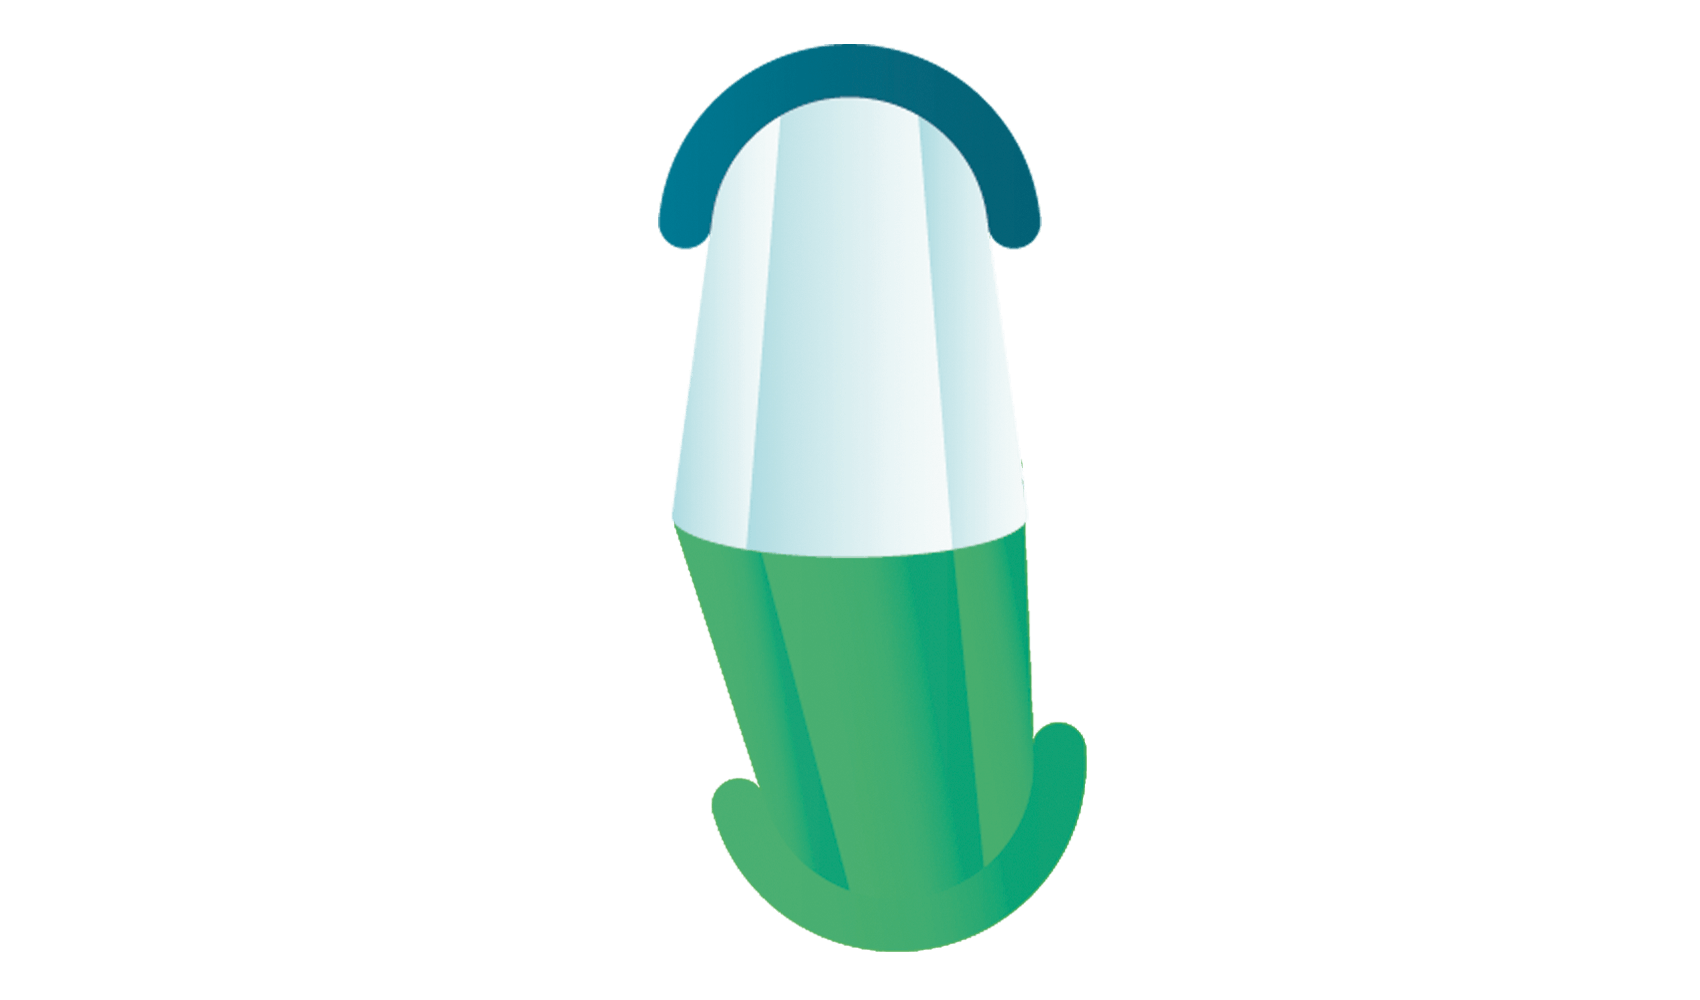
- The addition of a windmill (which is actually in my garden), whose wings can turn.
- The three images below are 1700 pixels wide. The height is not important for the realization of the hero.
- The images that compose the windmill must all be the same size, otherwise the screen resizing would move the objects in a non-synchronous way.
- The two wings of the windmill must be in the middle of the image, otherwise they will not turn.


Fourth step
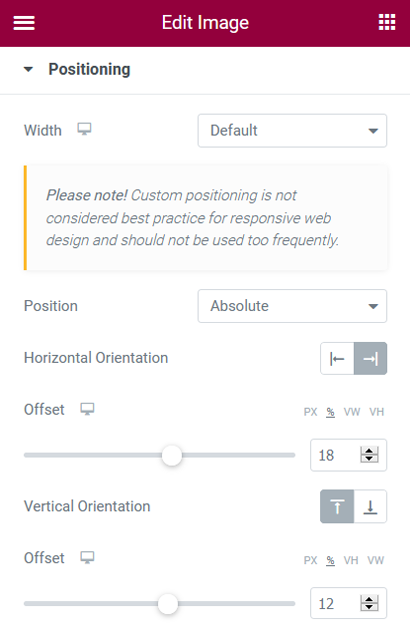
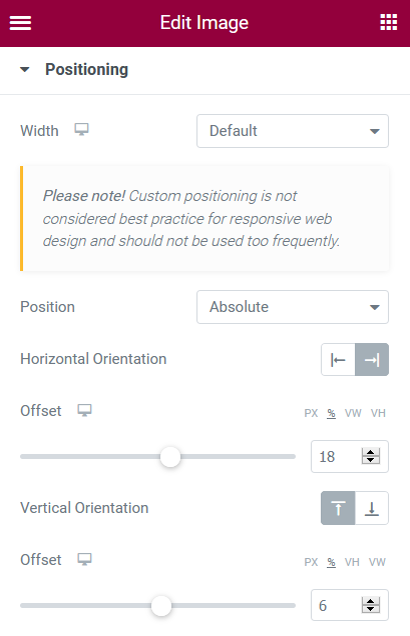
- The three images are superposed on each other.
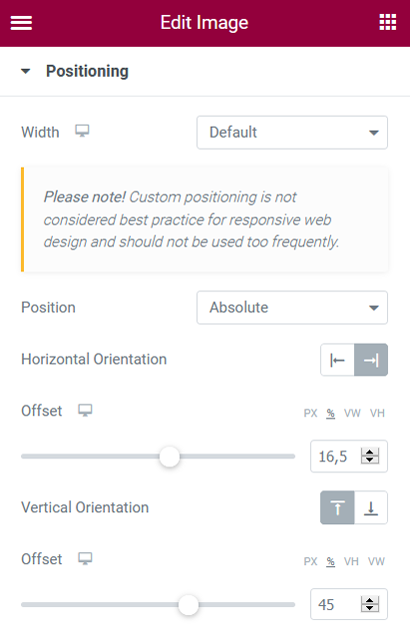
- This is done with the advanced option “Positioning”. For the same reason of synchronization between the different images, the positioning must be given in percentage (%), in VW or VH, but never in pixels.
- It is quite possible to give half percentages, as here for the shadow of the wings.
Fifth step
- The rotation of the windmill wings.
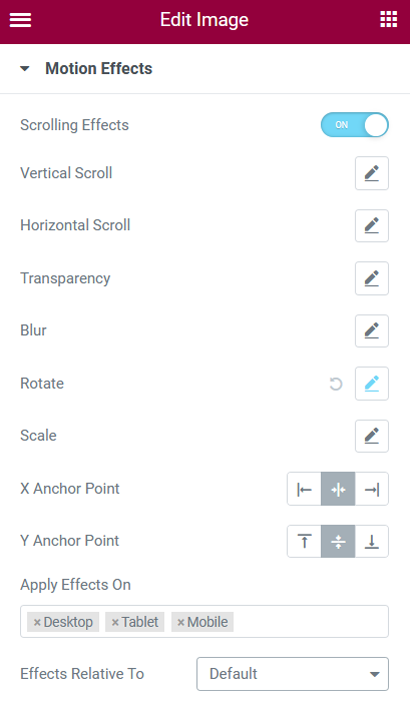
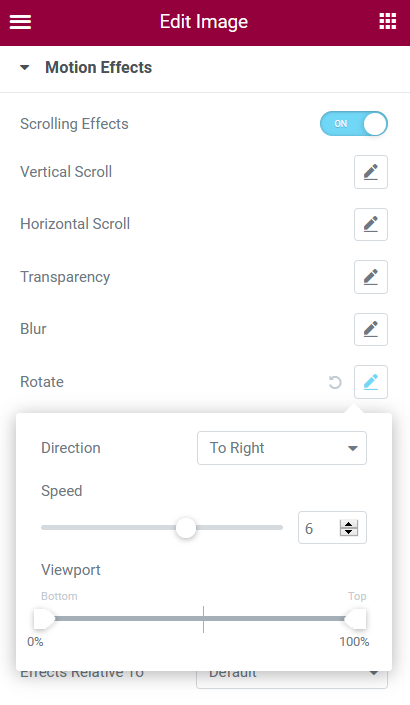
- The rotation effect is done in the advanced tab. It is possible to modify the speed and the direction of rotation.
- The modification of the “viewport” allows to delay the start of the movement according to the scrolling of the window. Of course, common sense dictates that if the “viewport” value for the wings is changed, the shadow value for the wings should reflect the same percentage.
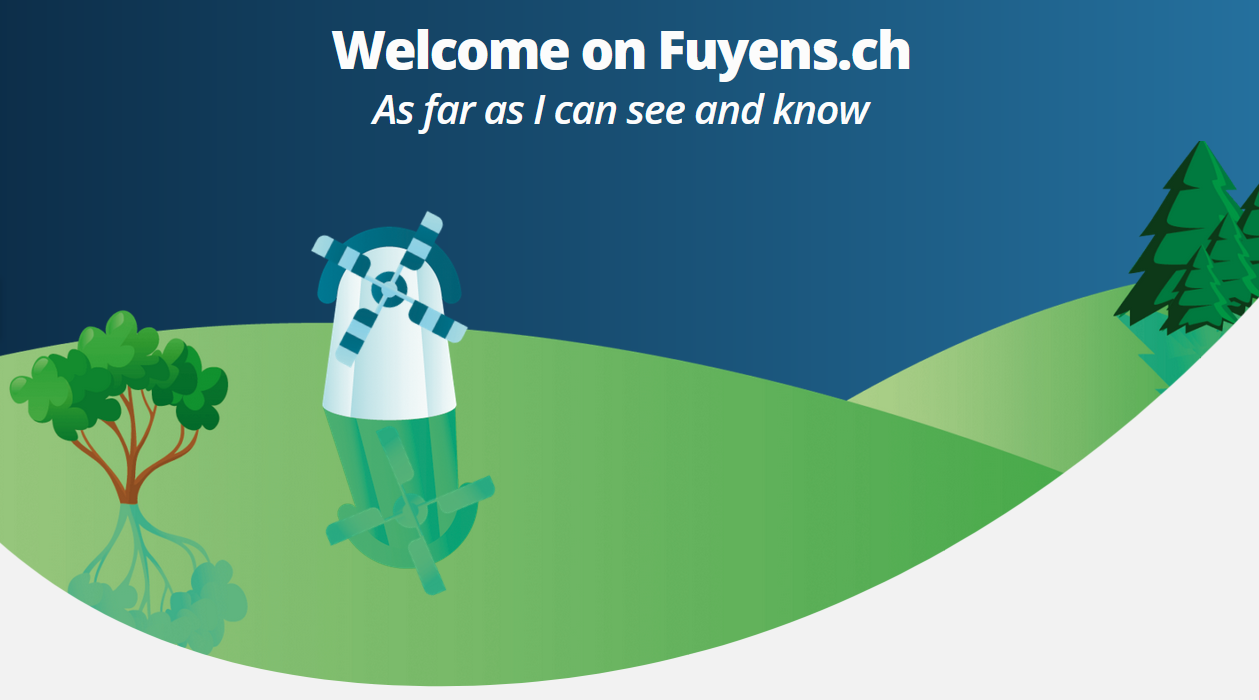
Once the windmill is in place, the hero is complete and the scrolling of the page turns the windmill wings.
The possibilities of creating positional and movement effects are endless with a little imagination. However, this practice is not very recommended, especially on cell phone screens. A good tip would be to keep it simple when applying a movement.
The other part of the page
The other sections of the page, such as “The latest posts” and the “Highlights to see” section, are made with the posts widget.
The “Posts” widget has an interesting option to apply a filter on the content. This filter is coded in PHP. For example, below, the filter will display the last six posts in descending order, as long as they belong to one of the three custom types and have been published.

The “Query ID” must be in the coded action.
// Showing 6 last posts written
  function last_six_posts ($query) {
    $query->set('post_status', 'publish');
    $query->set('post_type', ['it','tracks','travels']);
    $query->set('posts_per_page', 6);
    $query->set('order', 'desc');
  }
  add_action('elementor/query/custom_filter_six_posts', 'last_six_posts');
That’s it for the secrets behind the homepage. Have fun !
